The fastest, safest way to try CS2 skins is a mix of four methods: Steam's built-in inspect link for a quick static look, community inspect servers when you want to see a skin moving and shooting in real match lighting, Workshop maps for controlled side-by-side screenshots, and a client-side suite like lunaR when you want a persistent, fully customizable preview across every map you play. Quick check? Use inspect links. Live feel? Join an inspect server. Long-term testing across combos? A client-side suite wins.
TL;DR:
- Using official Steam inspect links is the safest method for quick float and pattern checks, but it offers limited realism compared to in-match lighting.
- Community inspect servers provide a more accurate feel of skins under real game lighting and motion, though untrusted servers pose a risk of scams or downtime.
- Workshop maps allow controlled, side-by-side comparisons for screenshots, but do not replicate live movement or lighting conditions.
- Client-side suites like lunaR offer long-term, customizable previews with control over appearance, accessories, and environment settings without risking account security.
- Testing skins across multiple environments, maps, and using various methods ensures better understanding of how finishes appear in actual gameplay scenarios.
Table of Contents
- How to try CS2 skins: five methods at a glance
- How do you inspect a CS2 skin using Steam or an inspect link?
- How do you connect to a CS2 skin inspect server?
- Testing skins with Workshop maps and offline practice mode
- Which method is safest, and what should you avoid?
- Why a client-side suite gives you the most realistic, lasting preview
- What actually matters when you're testing skins before you buy
- Try CS2 skins the easy way with lunaR
- Where to read more on testing CS2 skins
- Sources
How to try CS2 skins: five methods at a glance
Before you drop money on a knife or a rare glove pattern, run it through one of these checks first. Each method solves a different problem, and knowing which one fits your situation saves you from buying blind.
- Steam inspect links: The official, built-in preview from Steam Market or a trade listing. Best for a fast float and pattern check before a purchase.
- Browser viewers and loadout builders: Third-party sites that render a skin from an inspect link without launching the game. Good for comparing multiple combos quickly, but the lighting is static.
- Community inspect servers: Player-run CS2 servers where you spawn any skin, knife, or glove and see it under real in-game lighting while moving. Unofficial but widely used.
- Workshop maps and offline practice: Local, controlled environments for screenshots and side-by-side comparisons using console commands.
- Client-side customization suites: Tools like lunaR that change what you see on your own machine, giving you a persistent preview of skins, knives, gloves, and full profile customization without touching the actual inventory.
The official Steam route is the safest starting point. Everything past that trades a little more setup for a more realistic look.
How do you inspect a CS2 skin using Steam or an inspect link?
Every CS2 skin listing carries the data you need to judge it, but you have to know where to look. Here's the process:
- Open the Steam Community Market or a trade listing for the skin you're considering.
- Click "Inspect in Game" next to the item. This launches CS2 and opens its 3D preview panel directly, a feature Steam Market and third-party inspect links both rely on.
- If you're browsing a third-party marketplace instead, copy the inspect link it provides and paste it into console using the
csgo_econ_action_previewcommand, or click the site's own inspect button if one exists. - Once the preview loads, check the float value (wear level), the pattern index for skins with seed variation like Case Hardened or Fade, and sticker placement if the listing includes any.
- Rotate the item and zoom in on high-wear areas: the edges of a knife blade, the fingers on gloves, the corners of a rifle skin.
If the inspect link fails to load, the most common culprits are a listing that's already sold, a malformed link copied incorrectly, or CS2 not running in the background.
Pro Tip: Float alone doesn't tell the whole story. Two skins with identical float values can look completely different depending on where the wear is concentrated, so always rotate the model in the inspect window before trusting the number.
How do you connect to a CS2 skin inspect server?
Inspect servers exist because static previews can't show you how a skin catches light while you're strafing or reloading. Here's how to get on one:
- Search a server browser or a community list (Reddit threads and Discord servers dedicated to CS2 trading are common sources) for an active inspect server IP.
- Open the developer console in CS2 and type
connect [server IP]to join. - Once inside, use the server's chat commands to spawn the skin you want to test. Many servers rely on generator tools that output codes in a format like
!g [numbers], which you paste into chat to spawn that exact skin with a specific float and pattern, a system detailed in DMarket's breakdown of inspect servers. - Some servers use
!wsor their own custom command instead. Check the server's pinned rules or welcome message for the exact syntax. - Walk, jump, and fire your weapon to see how the finish behaves under motion and in different lighting zones on the map.
These servers can simulate knives, gloves, sticker placement, and float variation, which makes them the closest thing to a real match test without owning the item. If a connection times out, the server is likely full or offline. Try an alternate IP from the same list rather than retrying the same one repeatedly.
Testing skins with Workshop maps and offline practice mode
When you want clean screenshots instead of match chaos, a Workshop inspection map is the better tool. Subscribe to one through the CS2 Workshop, launch it from your library, and you get a controlled environment built specifically for close-up comparisons.
- Enable the developer console in Options if you haven't already, then load the map.
- Use
sv_cheats 1to unlock testing commands, andmp_buy_anywhere 1if the map doesn't include a buy zone, so you can swap loadouts without hunting for one. - Adjust map lighting and camera angles to see how a finish reacts differently than it does on a live server.
- Use these environments for side-by-side screenshots when you're deciding between two similar patterns or finishes.
This method won't show you match-realistic movement, but it beats any static browser preview for controlled comparisons.
Which method is safest, and what should you avoid?
Every method above carries a different balance of convenience and risk. Steam's built-in inspect is the safest option because it never asks you to hand over anything beyond opening the game client. Community inspect servers give you the best in-match feel, but they're unofficial: nothing you see there changes actual item ownership, and connecting to a bad IP is more of a nuisance than a threat. The real danger sits with third-party rentals and untrusted tools that ask for account access.
- Safe: Steam Market inspect links, verified inspect servers, Workshop maps.
- Riskier: browser viewers from unfamiliar sites, especially ones bundling downloads.
- Avoid: rental services requiring a deposit or account credentials, and any tool asking for your Steam password directly.
Community guides consistently warn against unofficial rental services tied to skin trading, since deposits and shared logins are common vectors for scams. A quick checklist before trusting any tool: verify the source, never share your password, skip anything demanding a deposit, and treat unsolicited account-access requests as an automatic red flag.
Why a client-side suite gives you the most realistic, lasting preview
Inspect links and servers are great for a one-time check, but they reset the moment you disconnect. If you want to actually live with a skin, see it in every map you play, and test full combos including knives, gloves, and stickers together, a client-side customization suite solves a problem the other methods don't even attempt.
lunaR, FrostChanger's CS2 suite, works entirely on your own machine and changes only what you see, which means it never touches actual item ownership or your account's real inventory. What it offers instead:
- Full inventory changer covering skins, knives, gloves, stickers, agents, and music kits.
- Custom skins built from user-uploaded textures, so you can preview designs that don't even exist on the market yet.
- Float, pattern, and index control for precise, repeatable comparisons.
- Viewmodel, HUD, and skybox customization, so lighting and world settings match what you'd actually see in a live match.
- Fake case openings for testing the visual thrill without spending on real cases.
That combination matters most for expensive knives and rare pattern seeds, where a static browser render just doesn't give you enough confidence to commit real money.
What actually matters when you're testing skins before you buy
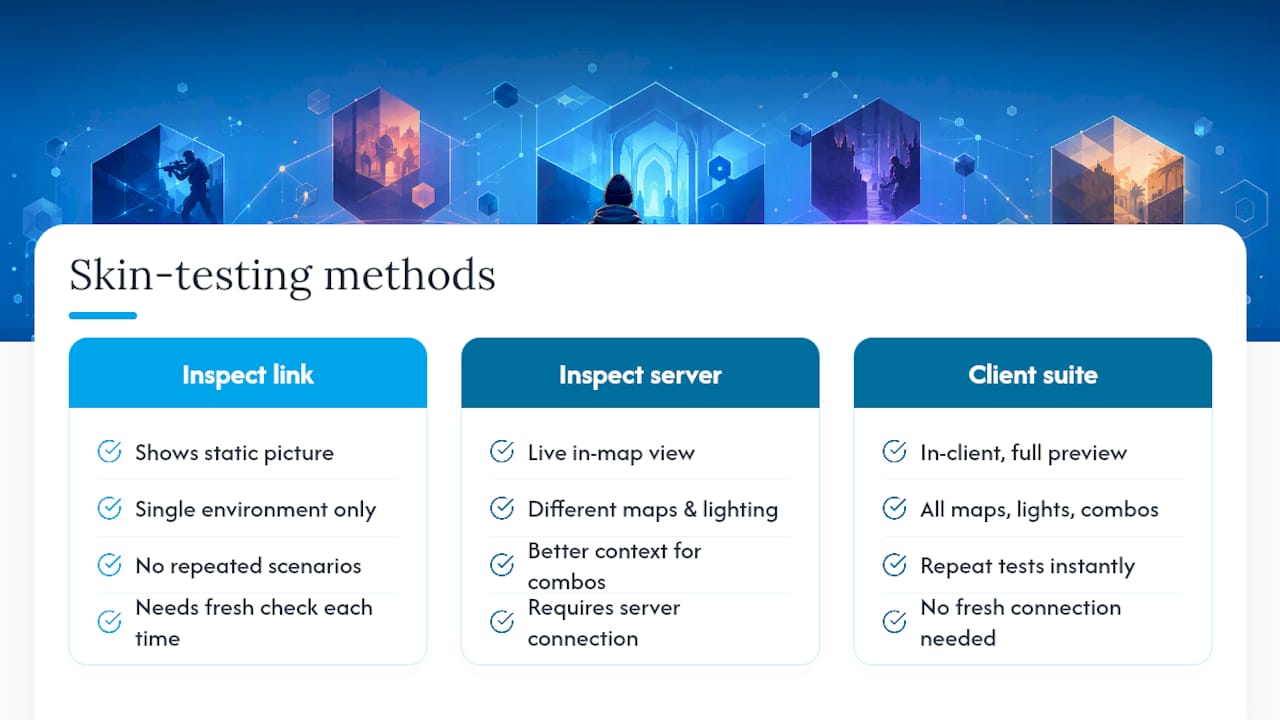
Most guides treat skin testing as a single-step process: click inspect, look at the picture, decide. That undersells how much lighting and context change a finish. A Case Hardened blue gem looks completely different under a Workshop map's flat lighting than it does mid-firefight on Mirage at dusk, and testers who only check one environment end up surprised after purchase.
The overlooked piece is that testing isn't really about verifying a single skin. It's about verifying how a skin behaves across every situation you'll actually encounter it in: different maps, different lighting, different combos with gloves and stickers layered on top. Inspect links answer the first question. Inspect servers answer the second. A client-side suite is the only method built to answer all of them at once, repeatedly, without needing a fresh connection every time. That's the gap between a tool that shows you a skin and one that lets you actually live with it before you decide.
— Blake
Try CS2 skins the easy way with lunaR
Static inspect links and one-off server connections work fine for a quick check, but they don't stick around. lunaR gives you a persistent, in-client preview of skins, knives, gloves, and full profile customization, complete with custom textures, float and pattern control, fake case openings, and viewmodel or skybox tweaks that match the lighting you'll actually play in.
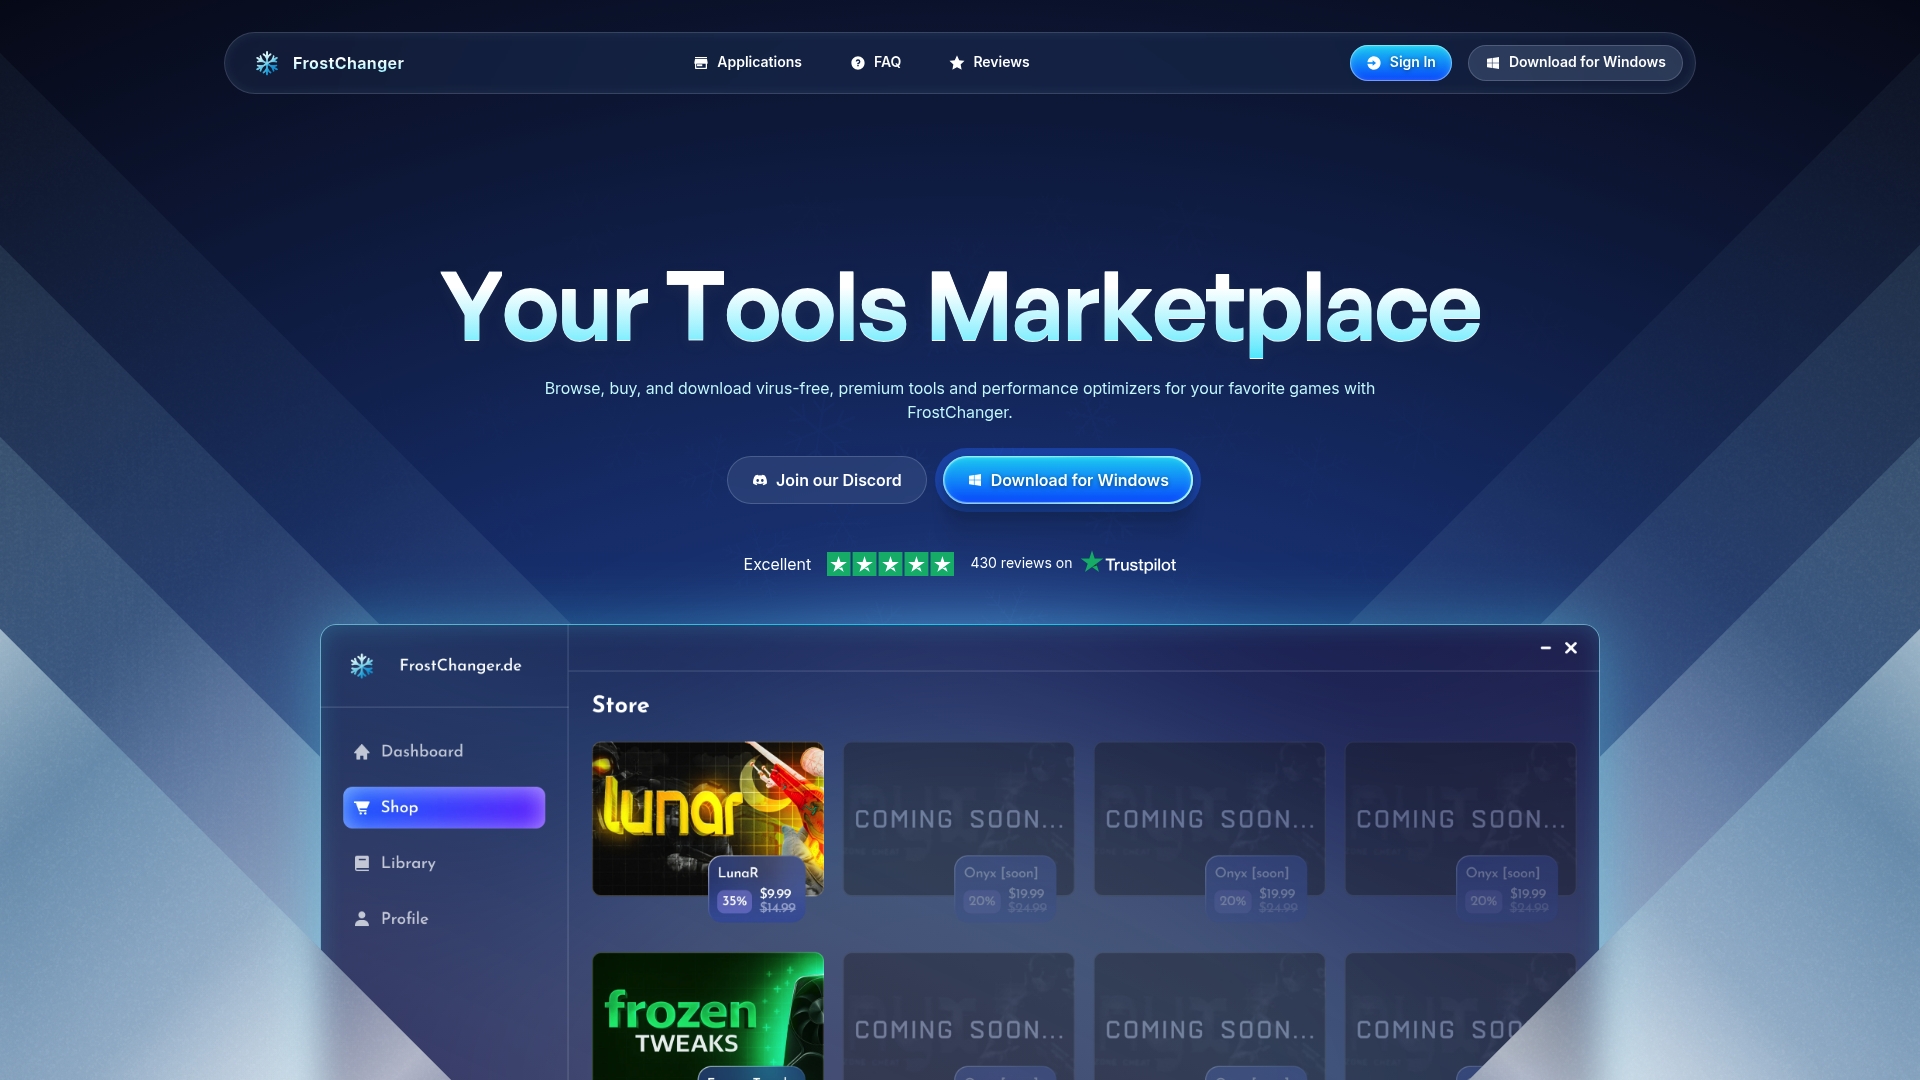
Everything runs client-side on your own machine, changing only what you see, with no impact on your Steam inventory or account. If you're tired of resetting your preview every time you disconnect from a server, get lunaR from FrostChanger and set up a loadout that stays exactly how you left it.
Where to read more on testing CS2 skins
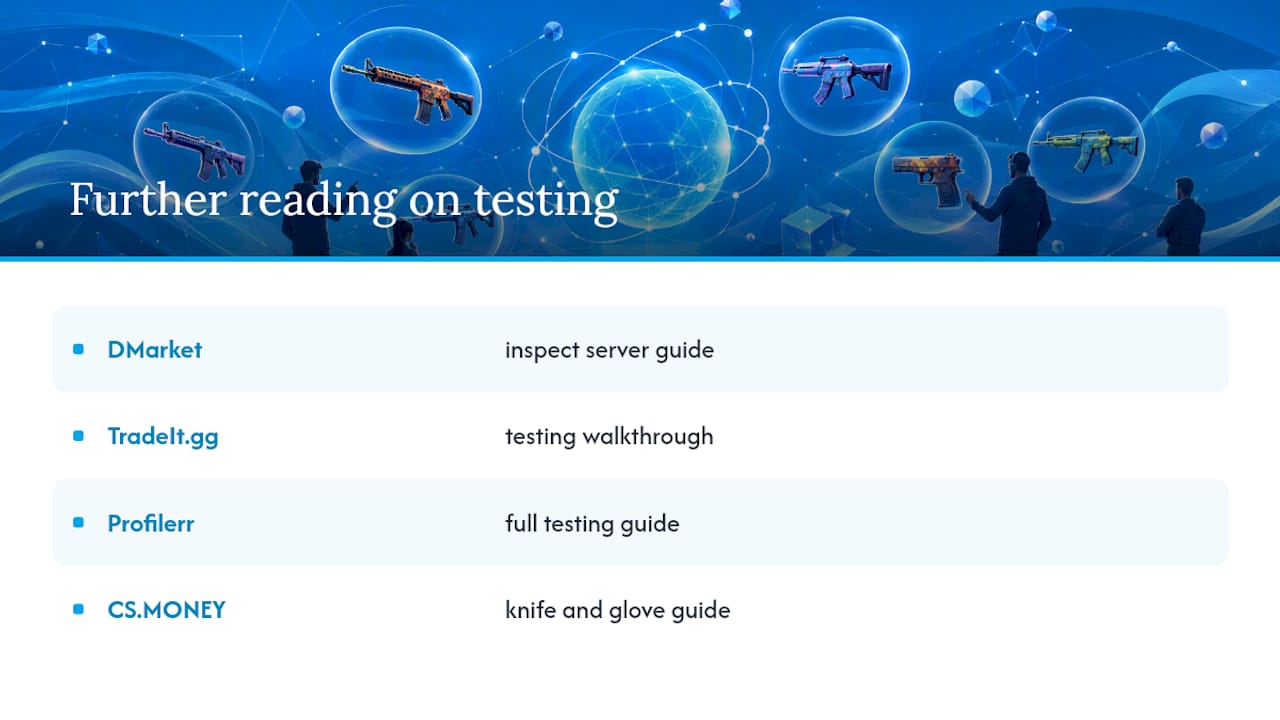
For deeper method comparisons, see DMarket's inspect server guide, TradeIt.gg's testing walkthrough, Profilerr's full testing guide, and CS.MONEY's knife and glove guide.
Sources
- CS2 Skin Inspect Servers: Benefits of Using and More | DMarket | Blog
- How to Test Skins in CS2: Try Out Skins Before Buying
- How to Test Skins in CS2 Full Guide | Profilerr